

I’m so excited to share an update on our kitchen cabinets today! We’ve been working on our upper cabinets and adding new trim, but took a good week off during Thanksgiving. On Friday night Mike and I stayed up late sanding + caulking the cabinet boxes. We have to make time to work on these house projects when there are three littles running around. I love our late night projects together, drinking coffee and wine in shifts and watching our favorite movies will always have a special place in my heart.
Building the cabinet box for the refridgerator was simple, but our biggest challenge was dealing with uneven walls. If you didn’t catch our last post about this project, we used THIS TUTORIAL to pull the cabinet off the wall and create a built-in fridge box. Luckily, we built this piece with the help of my in-laws which is always a lifesaver!


Once we had all our add-ins in place, filled holes and imperfections with wood filler and caulked every seam, we painted everything with KILZ primer and very lightly sanded with 220 grit. After cleaning all the surfaces with a tact cloth, we were ready for our first coat of paint. We used the same type of paint we used in the kids’ bathroom vanity upstairs, Benjamin Moore Advance in a satin finish. This paint is water based and it works great for cabinets. We decided to use Benjamin Moore Chantilly Lace color for our cabinets. I’ll be perfectly honest....there were several whites we were deciding over and we went with this one in particular because I liked the name!


We also added trim to the bottom of the upper cabinets. We used a 1x2 and a piece of MDF trim to create our finished chunky trim. Adding the trim to the bottoms cost less than $20 and has drastically changed the appearance of the cabs.

Once we had all our add-ins in place, filled holes and imperfections with wood filler and caulked every seam, we painted everything with KILZ primer and very lightly sanded with 220 grit. After cleaning all the surfaces with a tact cloth, we were ready for our first coat of paint. We used the same type of paint we used in the kids’ bathroom vanity upstairs, Benjamin Moore Advance in a satin finish. This paint is water based and it works great for cabinets. We decided to use Benjamin Moore Chantilly Lace color for our cabinets. I’ll be perfectly honest....there were several whites we were deciding over and we went with this one in particular because I liked the name!
To paint the boxes I used a 2 inch brush and foam roller and painted by hand. While lightly sanding and cleaning between coats, I did a total of three coats of paint on the cabinet boxes. This process was easy and necessary since we were painting inside and have babes in the house.
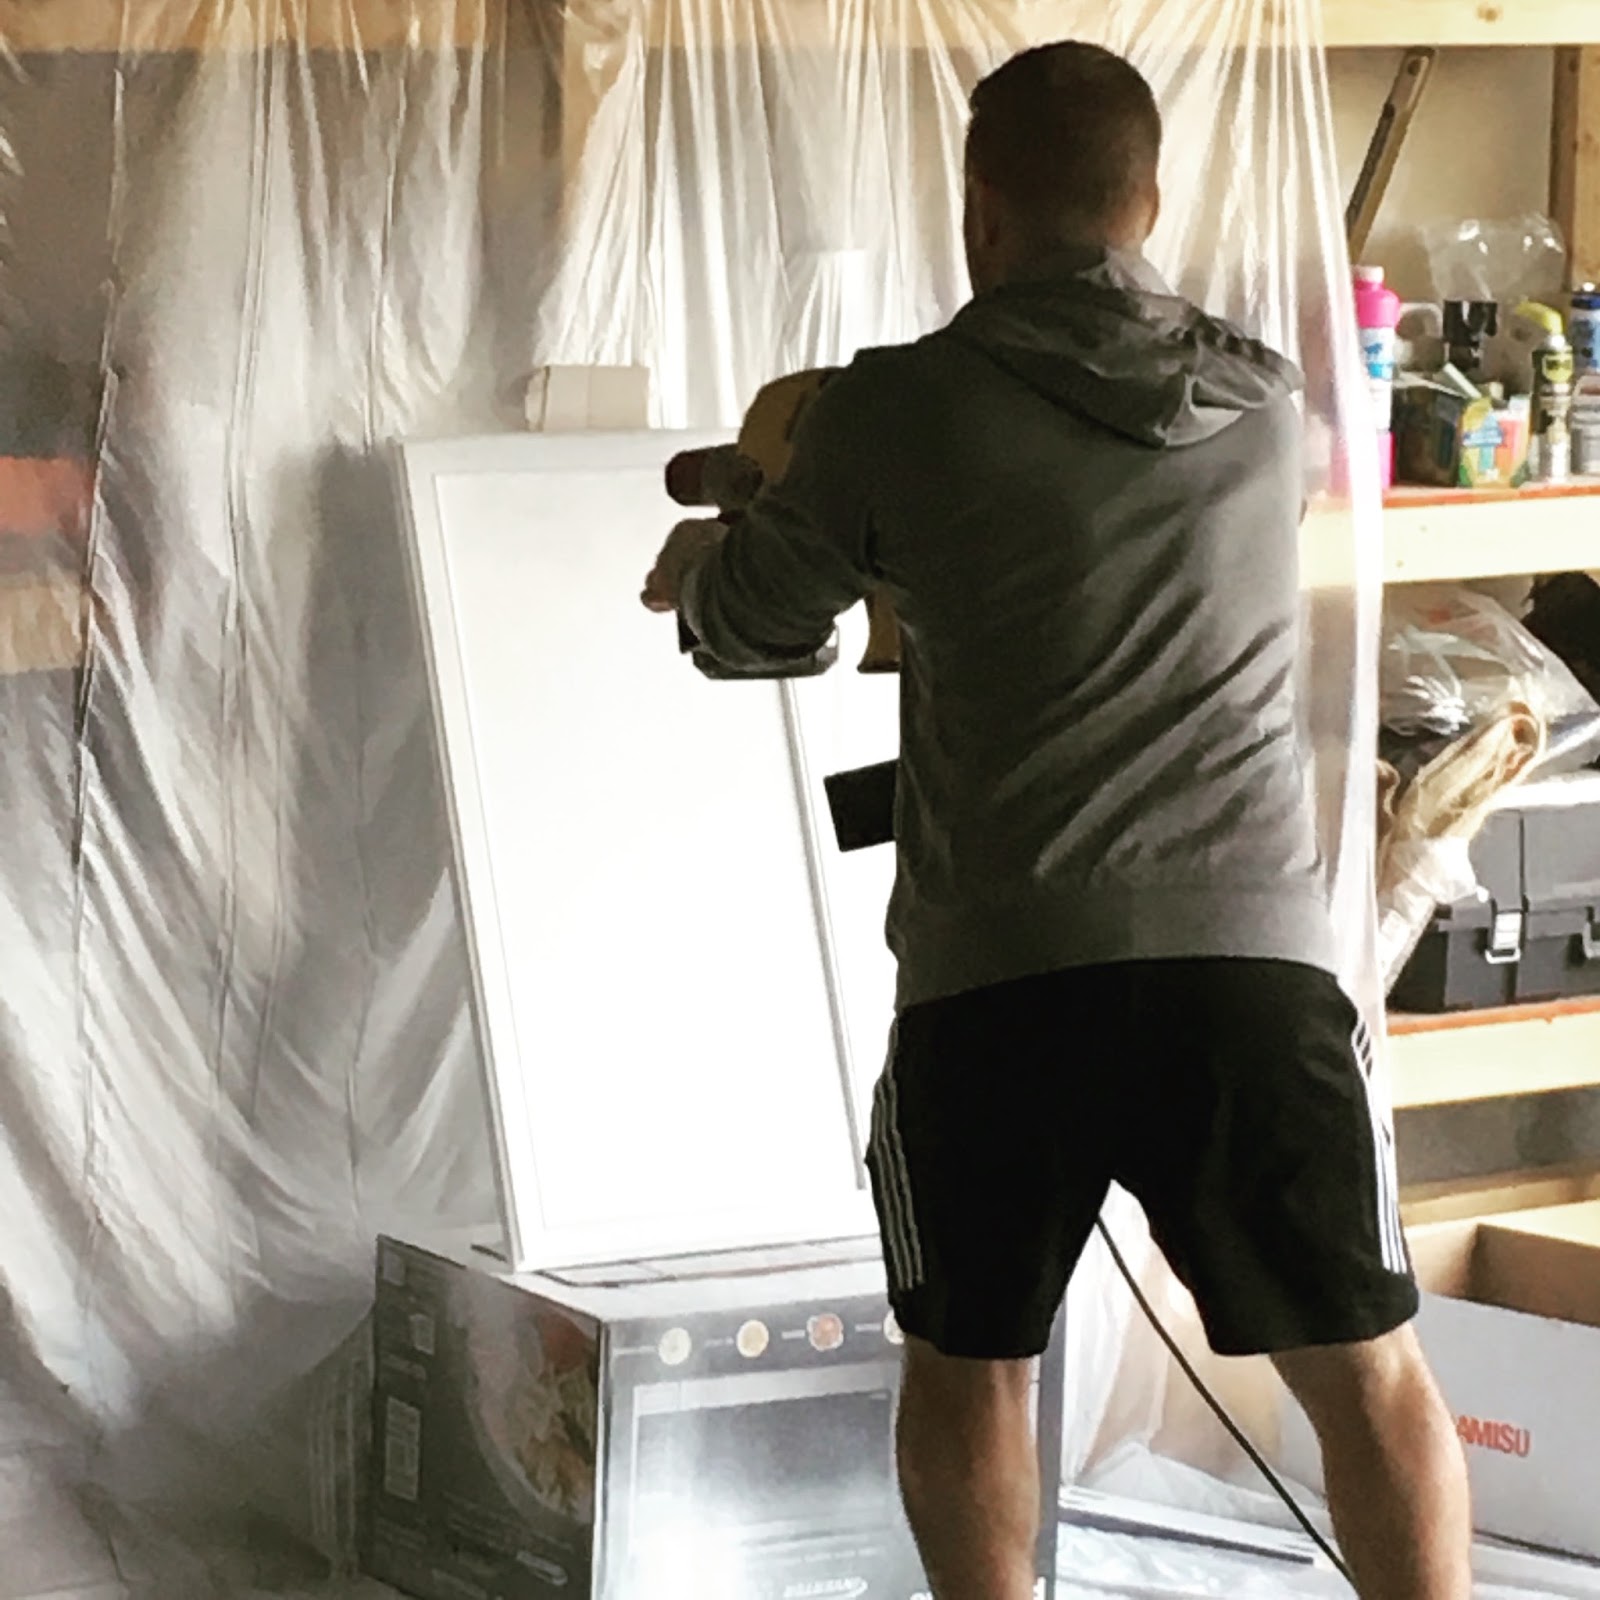
However, we took the cabinet doors out to the garage and created a little spraying station and sprayed all our doors using a spray gun, and allowed each coat a full day to dry. This means we sprayed the fronts, let them dry one day, flipped them over, sprayed the backs, let them dry one day. Yes, one day per side, per coat to dry. DO NOT RUSH THIS! Since we used the spray gun instead of hand brushing/rolling we only did one coat on the backs (because it covered well and it’s the back) and two coats on the fronts. This was our first time using a spray gun and we ran into a couple different things. 1) Since we did each door one by one, we had to lay a new clean surface underneath each door before spraying or else it would sit in extra paint from the previous door. We cut pieces of cardboard and swapped it after each door.
2) We could only spray 3 out of 4 edges. We made sure to get the unsprayed edge painted on the second coat and because the spray gun has such great coverage it ended up being just fine.

The spray gun takes a little practice, but it becomes easy and it gives a very smooth coat of paint. It’s much quicker than painting by hand because sanding would be required between coats. The downfalls with a spray gun is the excess paint used. There’s quite a bit of overspray, so we went through more paint. It’s also a pain in boo-tay to clean. It must be cleaned after painting every time and there a a million small parts. However, for us, the results are totally worth it.
Once everything is completely dry we will hang the cabinets doors back up and add our hardware. Then it’s on to the lower cabinets.. We decided to paint the entire side of the kitchen white and paint the peninsula a dark charcoal gray. I can’t wait to share more updates as we finished each step in this kitchen makeover.
xo
xo

Post a Comment